
Care for wooden chess pieces
Load a wooden chess set
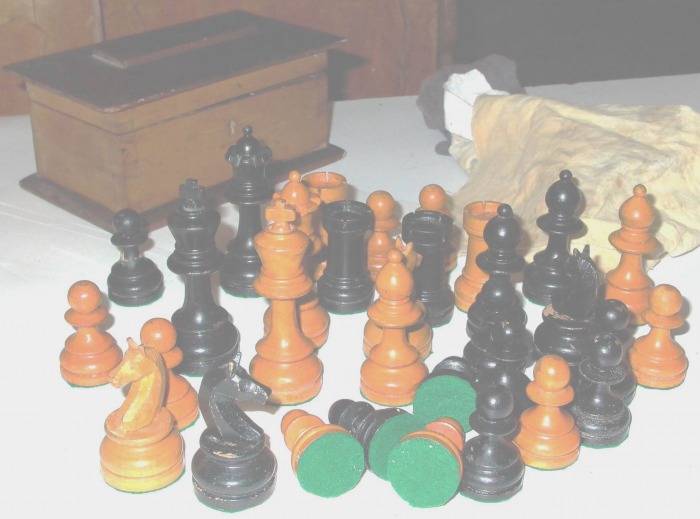
Felt chess Pieces
...load a chess set
Loading a chess set is not difficult - if you have the appropriate equipment at hand. Which sets to load and for what reason, is something to decide beforehand - if the set is antique it is probably better to leave well alone.
The ideal set up is to have
- a vertical drill with bottom fixtures for the pieces to drill, preferably small to medium size (ca. 800 W) (a drill depth scale on the side is useful)
- or at least a lever-operated stand to hang Your power drill into for precision drilling,
- asmall measuring rod with a scale,
- a selection of wood drills in various forms,
- precut cylindrical sections of lead, preferably in standard weights of 5 g, 10 g, 20, 30 g and even 40 g,
- white wood glue.
As perfection is difficult to achieve, I had to make do here with a large power drill, unsuitable drill heads, and round fishing weights - but these at least in standard weights.
My procedure of placing the power drill onto the table, and pushing the pieces up against the rotating drill head is risky to say the least, imprecise and potentially self-mutilating - and can not be recommended. Here goes!
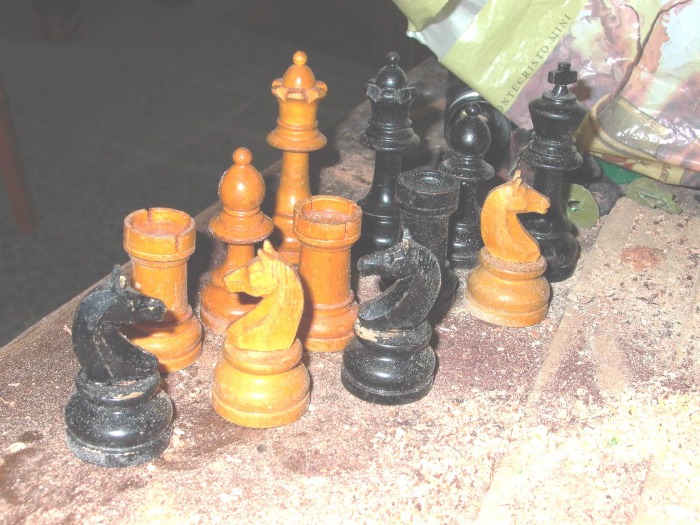
Large Indonesian Staunton set
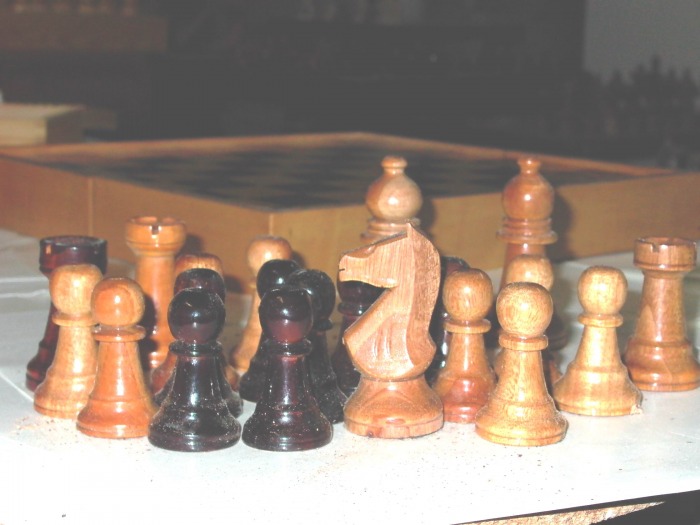
I start off with this large size nondescript set, in very dry exotic wood. The dark wood is noticeably tougher than the light wood - the set is nicely varnished, though. |
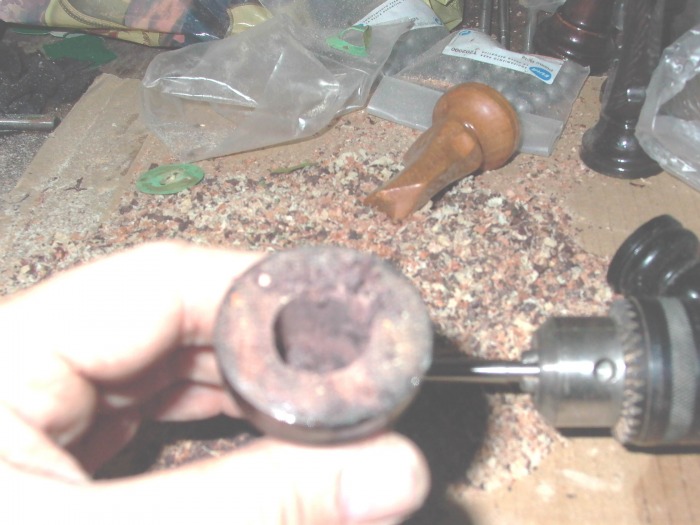
Hole in the ground
The drill bit I use produces a cylindrical aperture with a pointed center hole ahead- a round head would have been better for accomodating the lead balls, but - I cannot find roundhead wood drills that large around here! Also, this wood from Indonesia - like most well-dried chess pieces woods - is pretty tough to drill! |
Drill bit

These drill bits are great for sinking a washer or a nut into building wood - not ideal for my task. Regard the pile of sawdust which will come in handy. |
Fishing weights
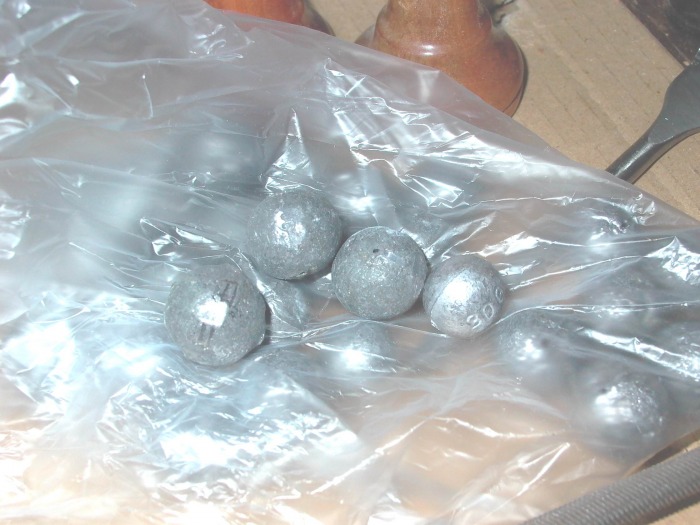
Lead balls in standard sizes with a hole through, to thread onto the fishing line - useful here as well. |
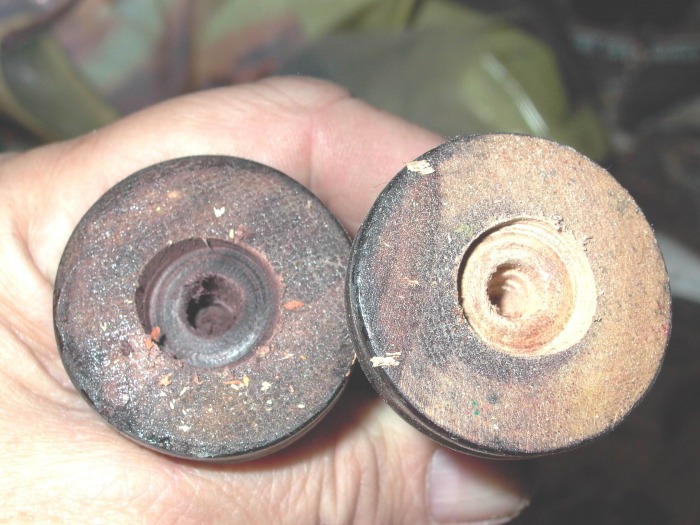
Bottom holed
The problem with fishing weights is You need a large hole - and due to my drill bit a fairly deep one. There is a real danger of boring through the whole pieces - pawns for example - and right into my hand! It is a good idea to measure the depth You want to drill to, and keep to it - see above, good equipment! |
White glue
Pour a dollop of white glue into the hole... |
... give us some lead...

.. dribble in a wee bit of sawdust and plop the lead ball on top (make sure its a comfortable fit, and sinks all the way in) |
... thank god it fits...
the lead ball is enveloped in spreading glue, which also sluices through the hole in the ball... |
Sawdust cover
.. tamp down some sawdust - preferably same kind of wood - on top of the lead ball, and let it dry. After drying even out the bottom with a sharp knife, to create a level surface for felting. |
Results
Here is the bottom line - how the pieces look after leading, and before paring down the excess sawdust. Why sawdust? Sawdust with white glue forms a kind of rockhard wood cement, which is quite useful in wood construction for example. |
Conclusion and secondary technique
On this set - massive pieces king size 100 mm - I used 40 g weights on kings and queens, 30 g weights on the lighter pieces, and 20 g balls on the pawns. I repeat that having precut cylindrical weights - fe sections sawed off a lead stick - would be much better, as would be the use of proper drill heads and a vertically fixed drill.
Another technique if you do not want to go to all this trouble and get Your waistcoat smattered with sawdust - or if the chess pieces are fine and fragile - would be the following:
- get precut lead disks - (for small pieces fat steel or copper washers might do),
- contact glue,
- glue the disks to the appropriate chess pieces bases AFTER paring them to a flat surface,
- let dry and then add felt pads.
This is much easier, and will get good results as well. The problem lies in precise lead disks - washers are an alternative, although they usually do not provide sufficient weight.
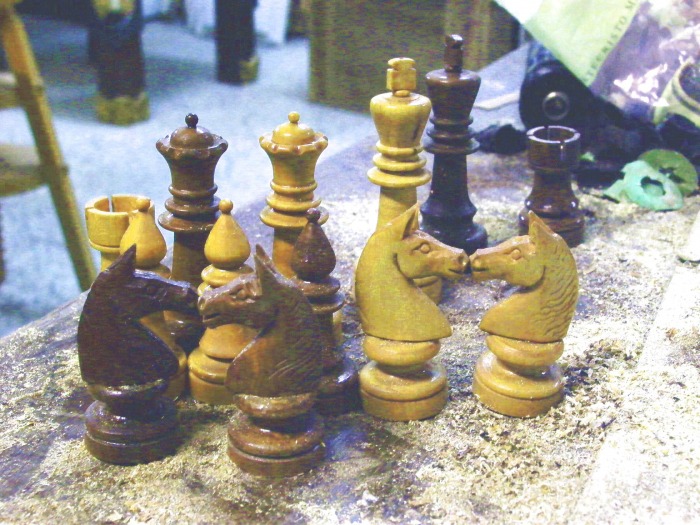
Another leading candidate
Pedestrian Staunton set of German origin, 98 mm king height, two piece knights. Here I use 30 g for kings and queens, 20 g for the major pieces and 10 g for the pawns. |
Play it again...

.. as with the larger set, glue and sawdust go into the hole.... |
..plunge the lead...

...in goes the lead ball... |
..glue galore..

...the glue curdles around the ball... |
...cover your tracks...

.. by tamping a liberal pinch of sawdust on top - preferably from these pieces - and let it dry. Later on, pare down the excess with a sharp blade, and prepare for felting, if need be with a touch of fine sandpaper. |
.. and one more...
What justifies leading this set is only the sharpish form of knights, the rest is very drab. Maple wood natural and burnished. After leading it becomes a passable playing set! |
....to felt a set of chessmen
Felting is definitely useful to improve the handling of chess sets, especially tournament sets. It makes sense in order to protect veneer surfaces from scratches, to allow sliding movements of pieces, and to cushion their landing on delicate board surfaces, let alone hide the boreholes from leading. Nicest is natural felt made from wool - not thicker than 3 mm - but wool felt will be attacked by moths! There are quite good felts on fibre basis, and any reasonably soft cloth material will do as well - but felt is felt!
Stamping out circular pads with round forms and hammer on a wood base, is very tedious and slow. Besides, it is not easy to find these circular cutters in large enough sizes. Better use scissors or paper knifes.
Use semi solid glue - You do not want to soak the pads as they then will harden and become scratchy - exactly what we do not want. One might find self-adhesive paper or cloth pads in crafts shops - these usually are not thick and soft enough for our purpose, but will do to felt plastic chessmen.
Preparations
The recently loaded Indonesian set - I like to cut the felt into suitable squares aforehand. |
Executions
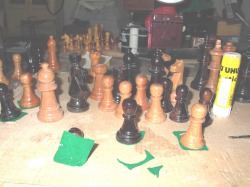
Observe the rest of felts and the glue stick - I then glue the pieces onto the felt squares and let them dry. When dry, I snip around the base carefully with a rough and small pair of scissors. |
The view from below
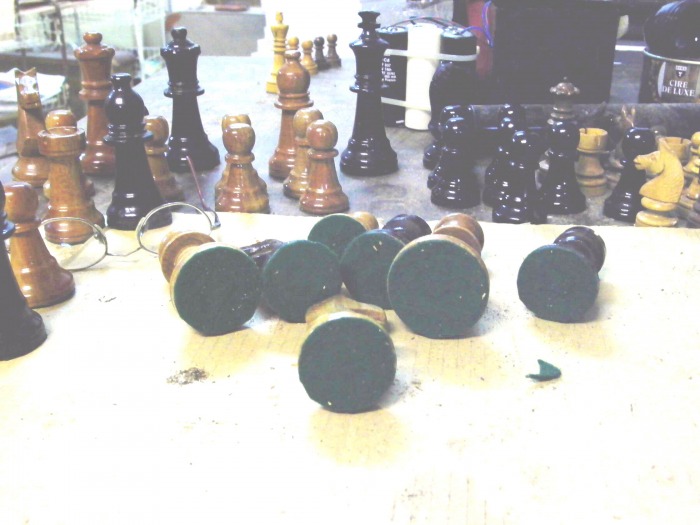
The result looks satisfactory - the thicker the felt the less important is it whether the bottom of the pieces is really completely plane. Little corners from snipping on the pads are also secondary - worse would be cutting too close and snipping off wood splinters from the pieces! |
Hell on wheels
... and in both cases, two drab and banal chess sets have been transformed into cracking tournament sets. |
